The MAX Responder tool provides features for auto responding to activities occurs on a Facebook posts. With MAX Responder tool you can set multiple sensors to monitor any Facebook post and interact with comments automatically, you can also bump Facebook group posts with an advanced post bump options. This article explains how to create and configure a MAX Responder campaign.
Creating a new campaign
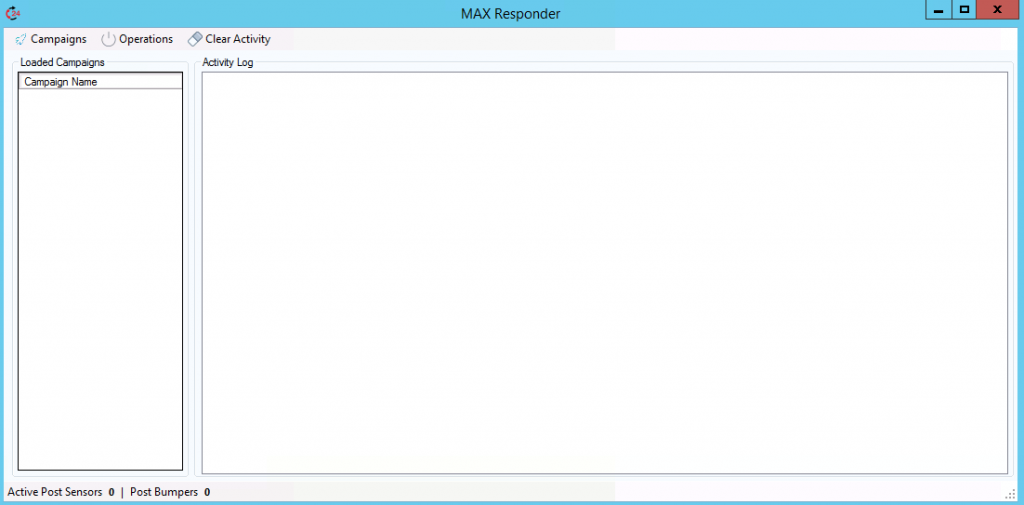
- Open MAX Responder tool, click Responder -> MAX Responder from FoxMaster Suite main screen٫
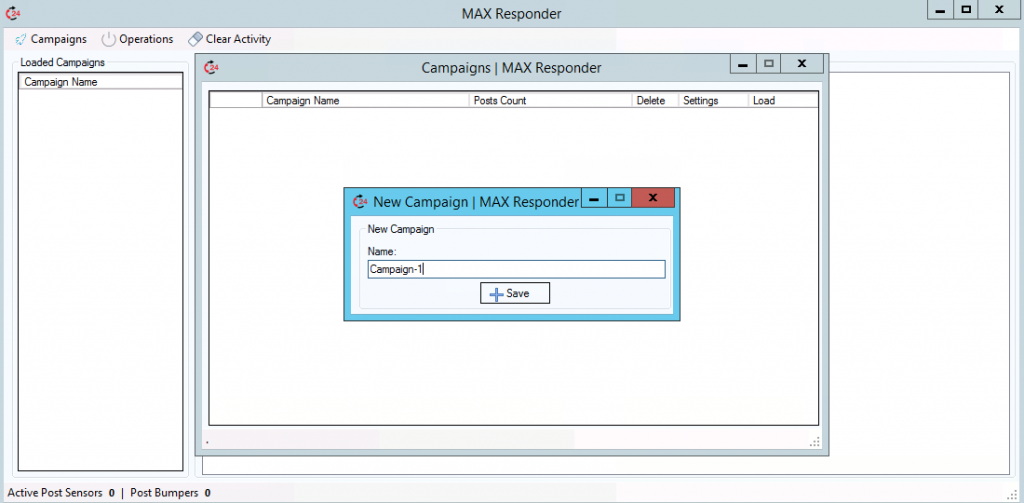
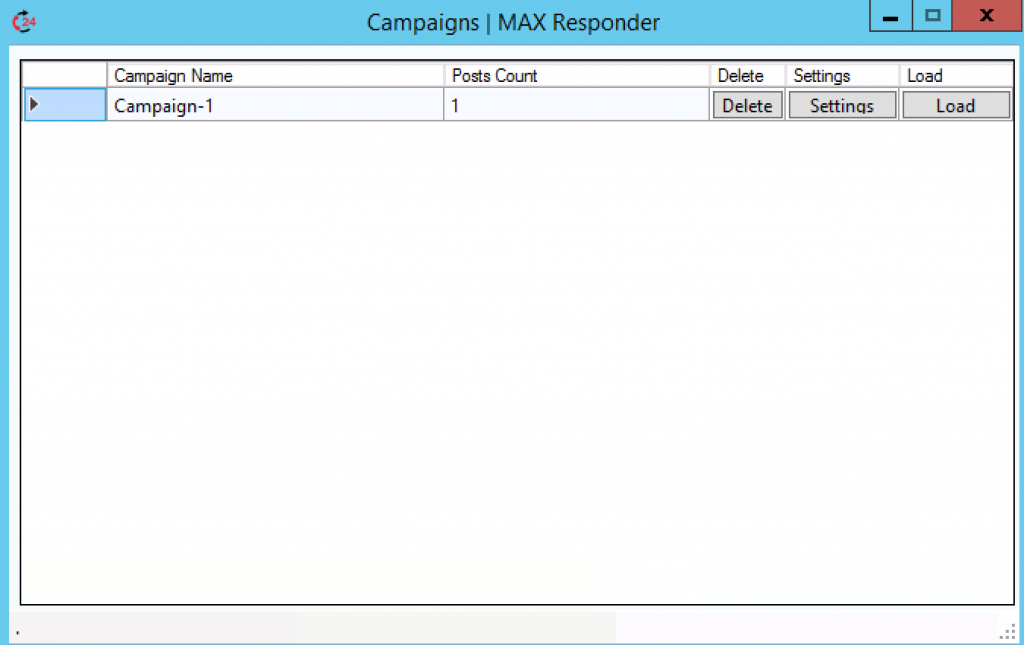
- Click “Campaigns” option from menu to open campaigns manager.
- Right click on any empty place and select New Campaign.
- Enter a name for the campaign and click Save button.
Campaign Settings
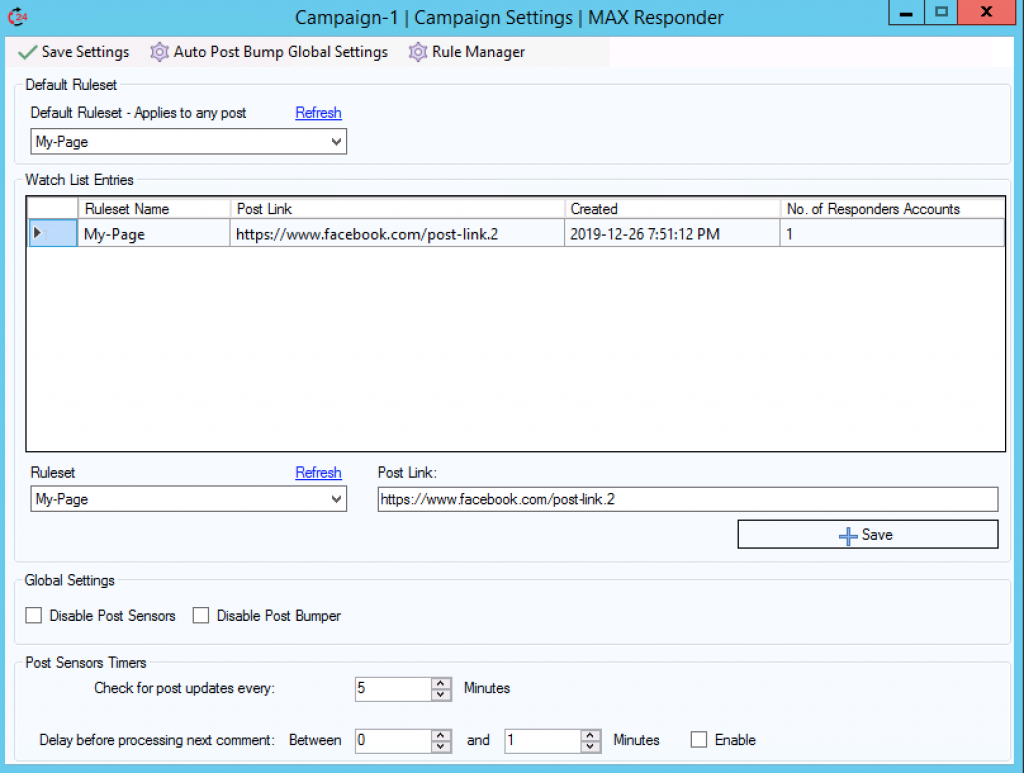
Click Settings button from campaigns manager to open campaign settings form.
Before adding posts links to the campaign, you need to create at least one rule, rules are organized into rulesets, a ruleset may contain one or more rule. Rules are created from Rule Manager tool and it’s used to control the post sensor behavior. Checkout this article “Creating Rules for Facebook Post Sensor” to learn more about creating post sensor rules. If you’re not going to use a post sensor, you can just create an empty ruleset and check the option “Disable Post Sensors”.
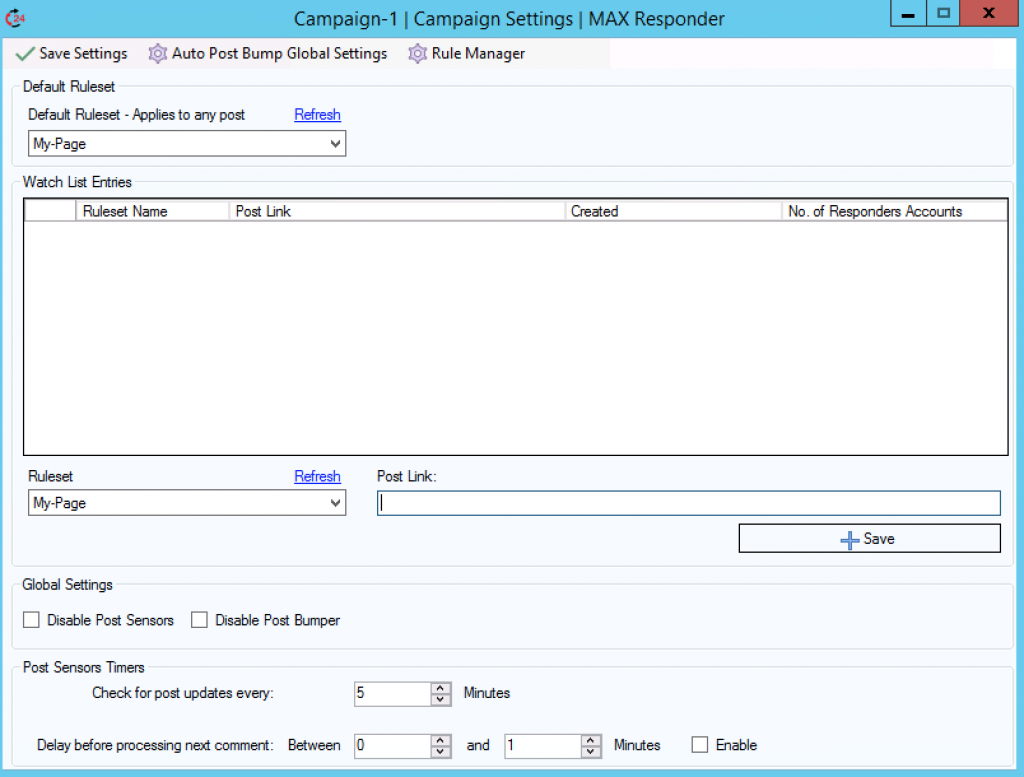
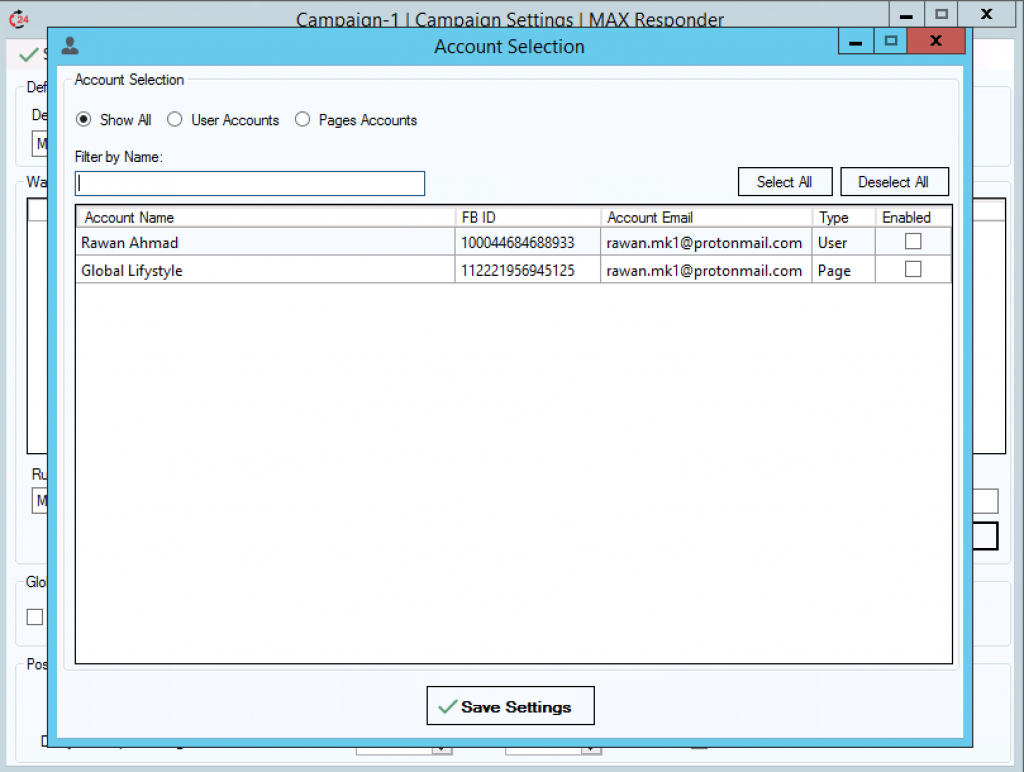
After creating a ruleset, you can now add posts to the campaign from “Watch List Entries” section. When you click Save button, you will be asked to select which accounts to be used in post sensor for replying to fan comments. If you’re not going to use a post sensor, you can just click Save Settings without selecting any account.
Selected rules are applied only within Post sensor, it has no effect on post bumper.
If you select multiple responder accounts, then post sensor will use a random account each time responding to comment.
Post Bumper Settings
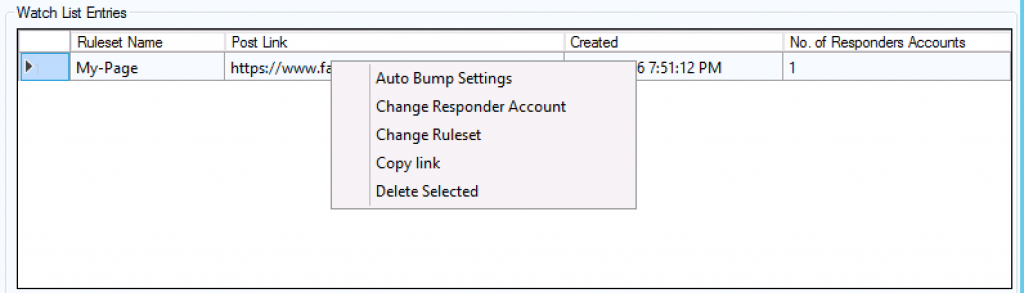
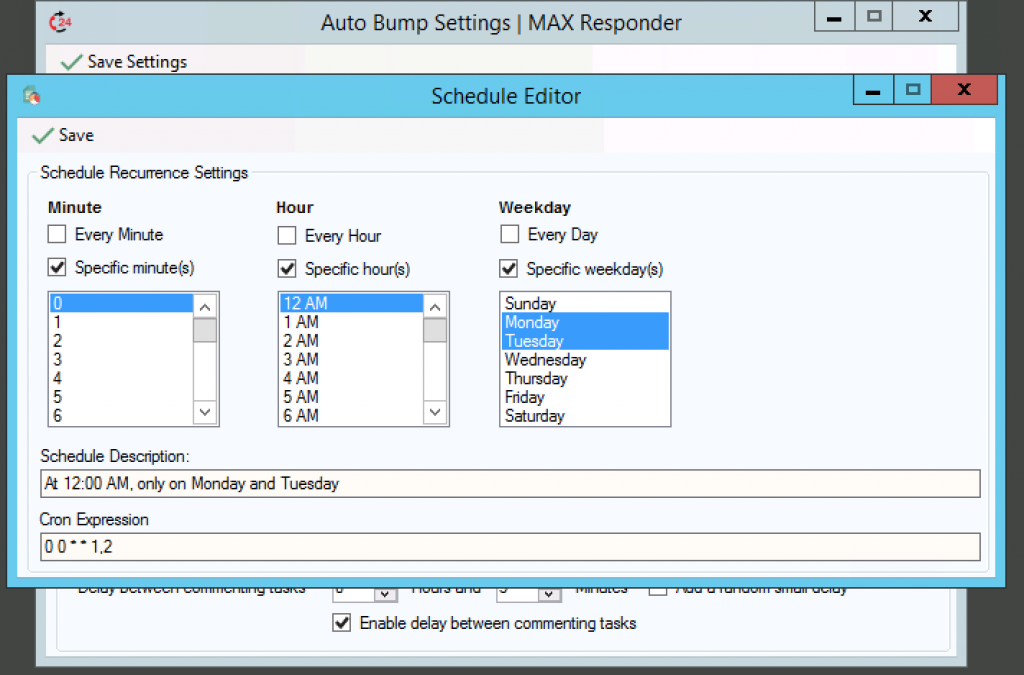
If a post is published on a Facebook group, you can bring the post to the top feed of the group by posting a comment on the post. To enable post bump feature, select posts you like to enable post bumper for, and click right-click on post link and select “Auto Bump Settings” to configure bump settings. Read more about Auto Post Bumper features
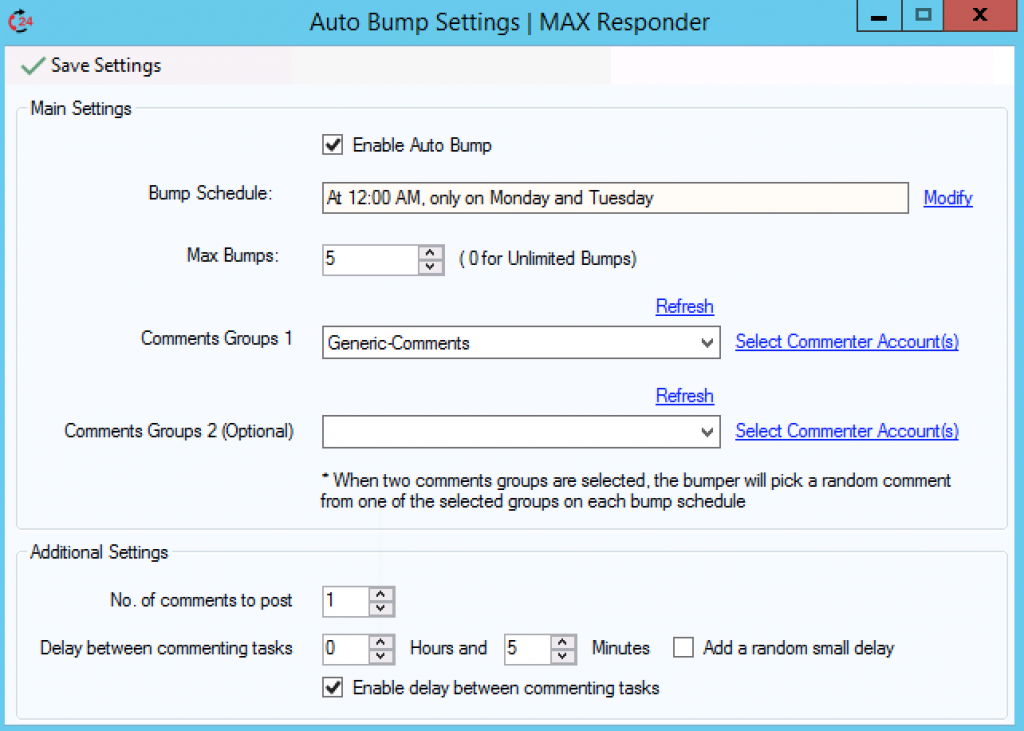
Max Bumps: Specifies how many times to bump a post.
Comments Group 1 & Comments Group 2: Specify which comments group to be used, a random comment will be picked from this group every bump schedule.
Select Commenter Account(s): Specify what Facebook accounts should be used for posting comments. Random account will be used to post a comment on each bump schedule.
When two comments groups are selected, the bumper will pick a random comment from one of the selected groups on each bump schedule.
Example:
Comments Group 1 Contains: Comment-A
Comments Group 2 Contains: Comment-B
Selected Accounts for Comments Group 1: Account-A
Selected Accounts for Comments Group 2: Account-B
When a post bump schedule occurs, this is what happens:
- Select a random comments group => Comments Group 2
- Pick a random comment from selected comments group => Comment-B
- Pick a random account from Commenter Accounts 2 => Account-B
That’s a lot of randomization, as you can see you can customize the bumper for extra randomization.
No. of Comments to Post: Specifics how many comments to post in a single bump, the default is 1 comment per bump.
Delay Between Commenting Tasks: This can be effective when the value “No. Of Comments To Post” is greater than 1. Allows you to set a delay between commenting tasks.
Add Random Small Delay: For extra randomization, you can check this option to add a random small delay above the primary delay value.
Enable delay between commenting tasks: Check this option to enable the delay feature
When you finish editing settings, click Save Settings from top menu.
Campaign Global Settings
Disable Post Sensors: Enable this option to disable Post Sensors.
Disable Post Bumper: Enable this option to disable post bumper.
Post Sensor Settings
Check for post updates every: timer interval for checking new comments.
Delay before processing next comment: Process one comment every defined value.
Auto Post Bump Global Settings
Click “Auto Post Bump Global Settings” option from top menu to display global settings for post bumper
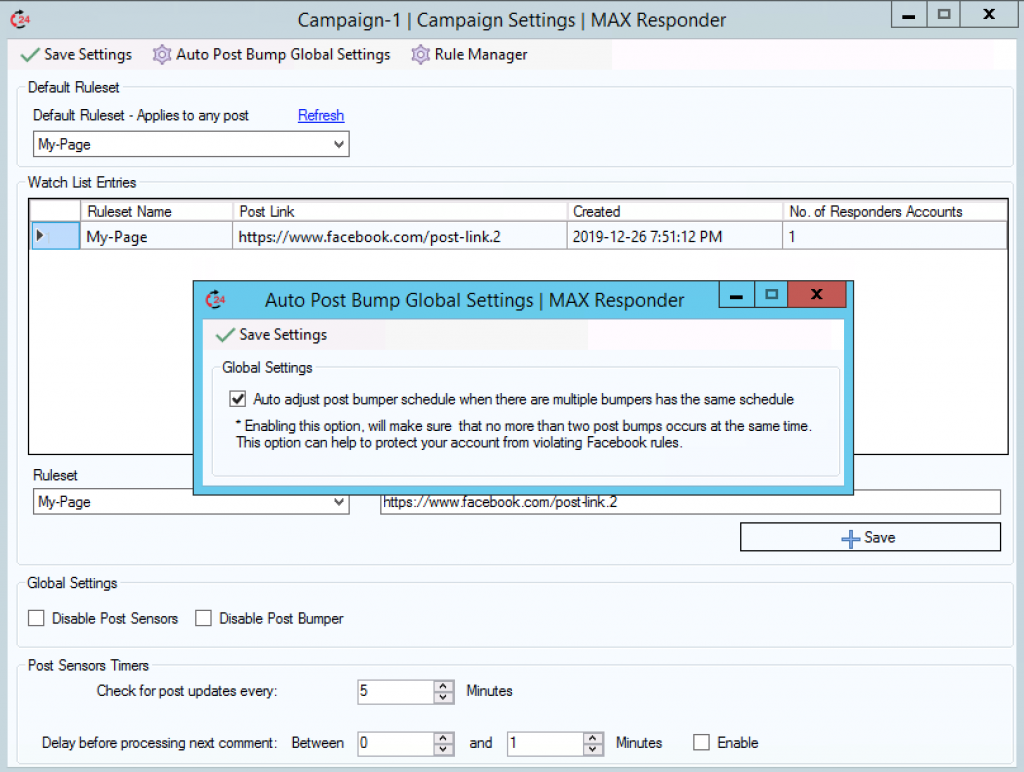
It’s highly recommended to enable the option “Auto adjust post bumper schedule when there are multiple bumpers has the same schedule” when you have multiple posts in a MAX Responder campaign, enabling this option will adjust schedule between posts that has the same bump schedule, this is useful for avoiding get caught by Facebook spam filters and keeping your Facebook accounts more safer.
After adjusting campaign settings, click “Save settings” from campaign top menu and the settings form will be closed automatically.
Back to campaigns manager, click “Load” button to load the campaign so you can start it.
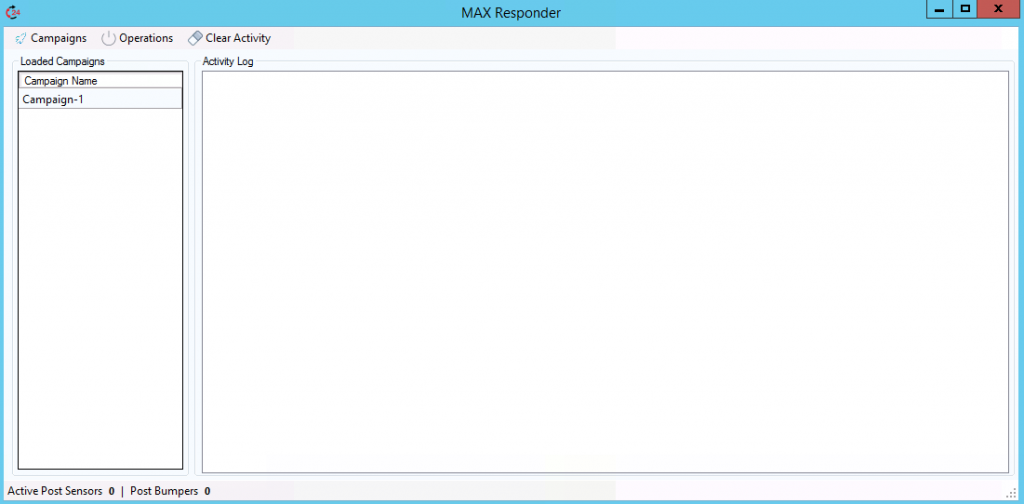
When a campaign is loaded, you can start MAX Responder by clicking Operations -> Activate Sensors
Summary
This article explained how to create a MAX Responder campaign, configuring campaign options, and explored different options. Starting a MAX Responder campaign without activating post sensor is possible. The Post Publisher tool is integrated with MAX Responder, whenever a post is published via Post Publisher, post link will be saved into selected MAX Responder campaign.